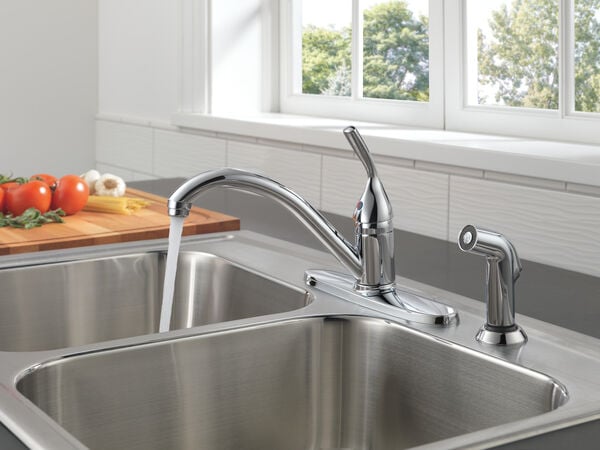
In this comprehensive guide, we will walk you through the step-by-step process of how to fix a loose kitchen faucet. A loose faucet not only leads to annoying dripping sounds but can also cause water wastage and potential damage to your kitchen sink area. By following our expert advice, you can quickly and effectively resolve this issue, ensuring your kitchen faucet is secure and functioning optimally.
Diagnosing the Problem
Before diving into the fixing process, it’s essential to understand why your kitchen faucet has become loose. The most common reasons include:
- Worn-out O-rings: O-rings serve as seals to prevent leaks between the spout and the faucet body. Over time, they can wear out, causing the faucet to become loose.
- Loose Mounting Nuts: The mounting nuts, which secure the faucet to the sink, can loosen due to regular usage or improper installation.
- Damaged Cartridge: Faucets with a cartridge-based system may develop issues with the cartridge, leading to instability.
- Worn-out Washers: In older faucets, rubber washers can deteriorate, causing the faucet to wobble.
Tools and Materials You’ll Need
Before getting started, gather the following tools and materials:
- Adjustable wrench
- Screwdrivers (both flat-head and Phillips)
- Allen wrench set
- Plumber’s grease
- Replacement O-rings, washers, or cartridges (if needed)
- Clean cloth or towel
Step-by-Step Fixing Process
Step 1: Turn Off the Water Supply
To ensure safety during the fixing process, turn off the water supply to the kitchen faucet. Look for the shut-off valves beneath the sink and turn them clockwise until the water flow stops.
Step 2: Plug the Drain
Place a cloth or towel in the sink’s drain to prevent small parts from accidentally falling down the drain while you work.
Step 3: Remove the Handle
Use a screwdriver or an Allen wrench (depending on your faucet type) to remove the handle. Locate the screw cover (usually labeled with an “H” or “C”) and gently pry it off to access the screw. Loosen the screw and lift off the handle.
Step 4: Inspect and Tighten Mounting Nuts
With the handle removed, you’ll see the faucet’s cartridge or ball assembly. Below it, there will be mounting nuts that secure the faucet to the sink. Use an adjustable wrench to tighten these nuts carefully.
Step 5: Check and Replace O-rings or Cartridge
Inspect the O-rings or cartridge for signs of damage or wear. If you find any issues, replace them with new ones. Apply plumber’s grease to the O-rings before installing them.
Step 6: Reassemble the Faucet
Put the faucet handle back in place and secure it with the screw. Ensure that it fits snugly and doesn’t wobble.
Step 7: Turn On the Water Supply
Once you’ve reassembled the faucet, turn on the water supply slowly. Check for any leaks or drips, and if everything looks good, your loose kitchen faucet should now be fixed.
Wrapping Up
By following the steps outlined in this comprehensive guide, you can successfully fix a loose kitchen faucet and prevent any further issues. Remember to inspect the various components thoroughly, tighten the mounting nuts, and replace any damaged parts as needed.
Regular maintenance and prompt repairs will not only save water but also extend the life of your kitchen faucet, ensuring it continues to function optimally for years to come. With this guide, you now have the knowledge and confidence to tackle this common household problem effectively.


